Setting Up Calltracking
Step 1. Installing the Roistat Tracking Code
Add the Roistat tracking code to the HTML code of all pages where you want to replace the number. If you have already installed the tracking code before, skip this step.
The tracking code can be found in the Settings section on the Tracking code tab:
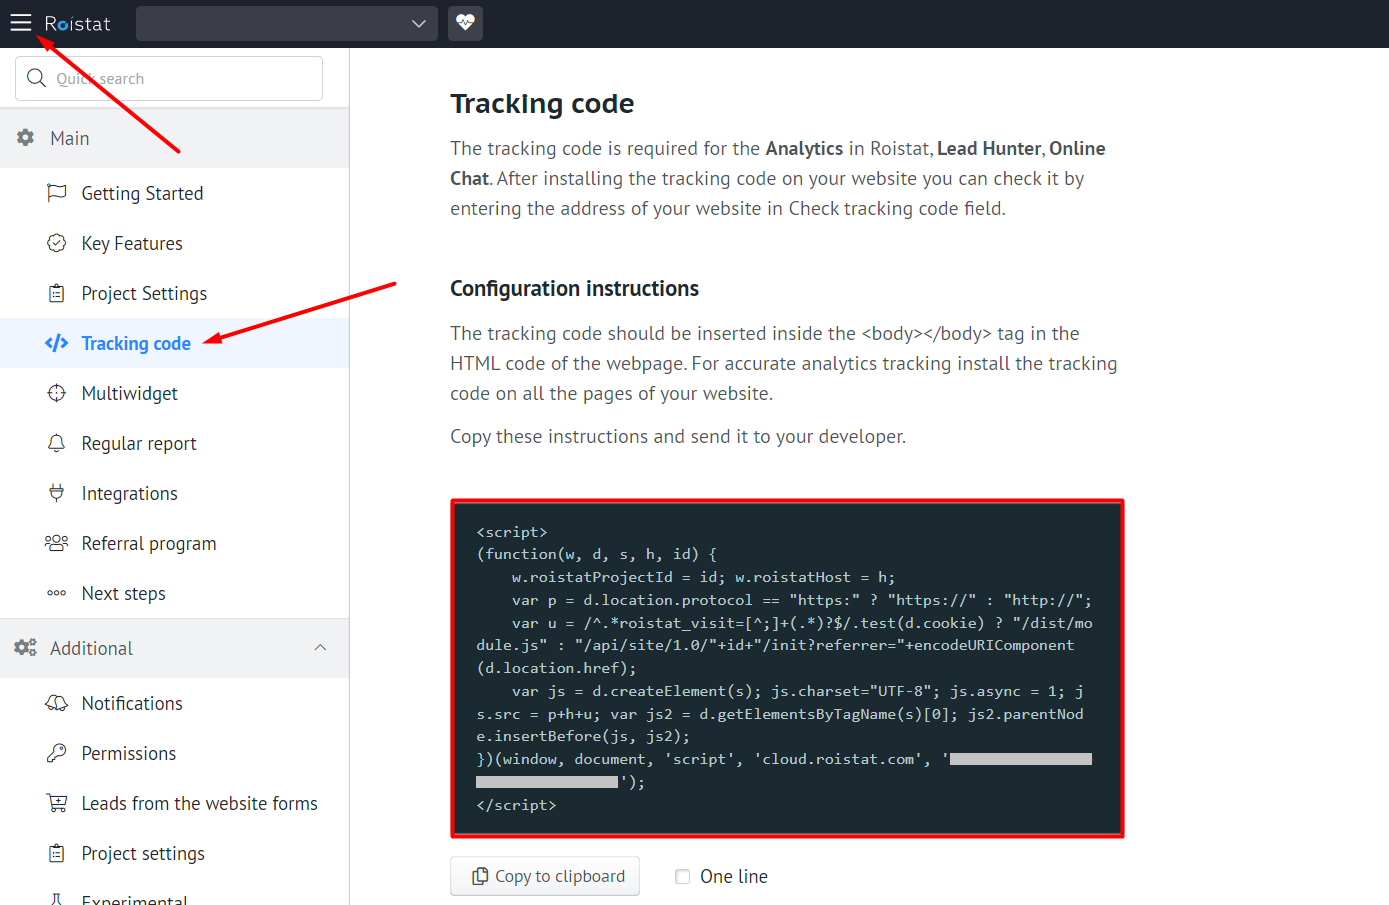
More about installing the Roistat tracking code
Step 2. Creating a Call Tracking Script
Open the Roistat menu in the upper left corner and go to the Calltracking section on the Scripts tab. Click Add scenario and enter a script name:
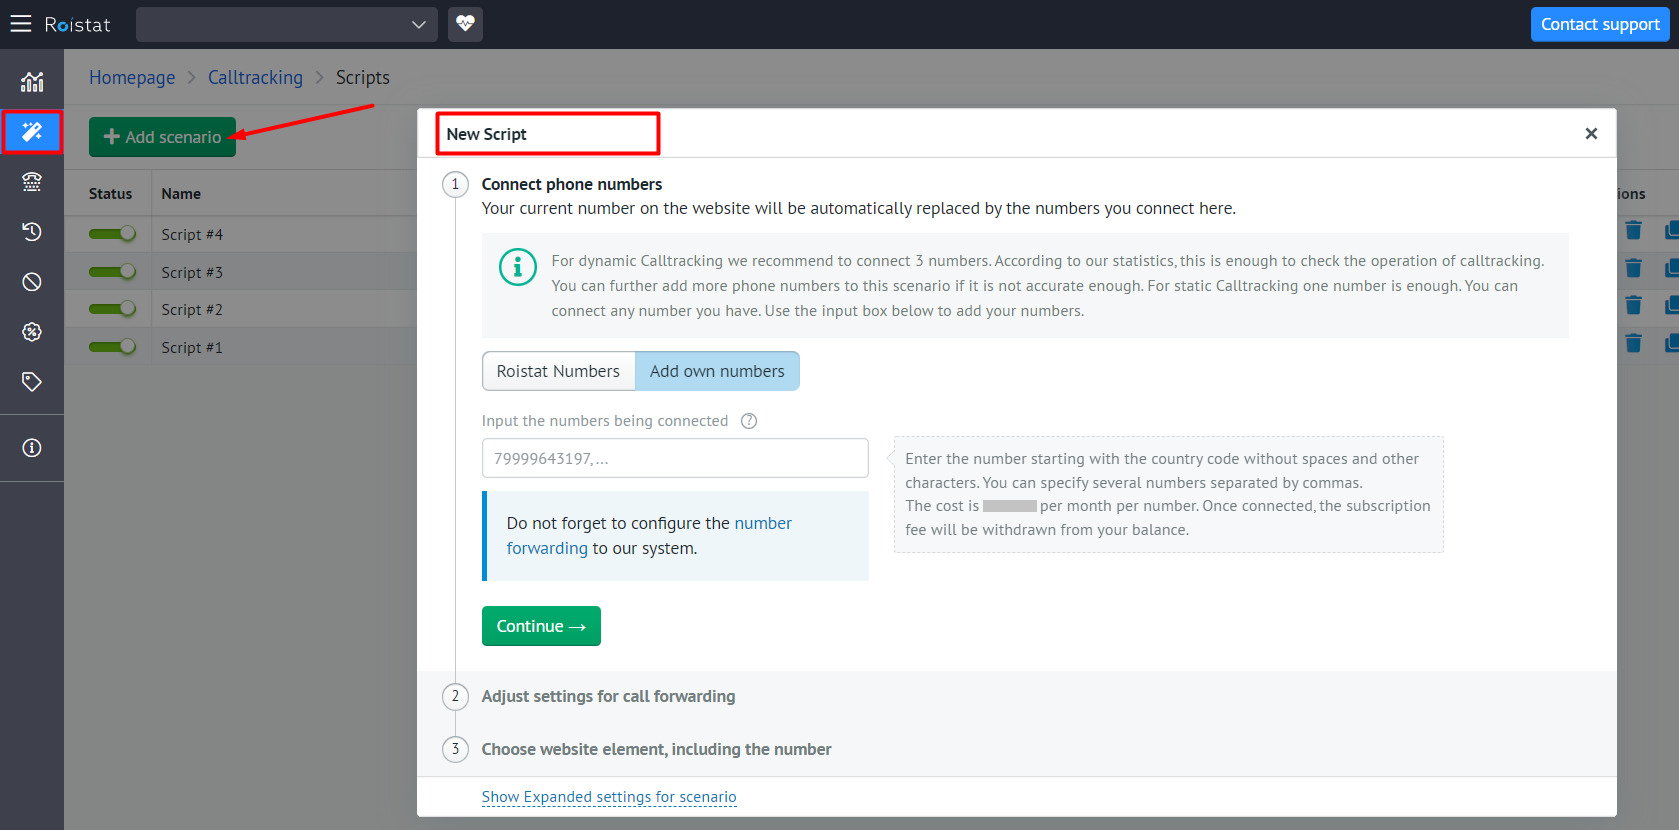
Go through the basic setup steps to get call tracking running as quickly as possible.
By default, dynamic type of call tracking is set: different users will be shown different replacement numbers. In the advanced settings, you can select static type of call tracking when one replacement number is assigned to a certain marketing source.
Basic Setup
-
In the phone carrier account, set up call forwarding from the numbers you want to use for replacement to Roistat SIP. Specify the SIP account from Roistat as the destination for call forwarding in the following format:
your number@pbx.roistat.com(for example,12345678900@pbx.roistat.com). The number must start with the country code.Make sure your phone carrier supports forwarding to third party SIP.
-
Add the replacement numbers to the call tracking script. In your Roistat project, select the Add own numbers tab in the script creation/editing window and enter replacement numbers separated by commas. The number must start with the country code and must not contain any characters or spaces:
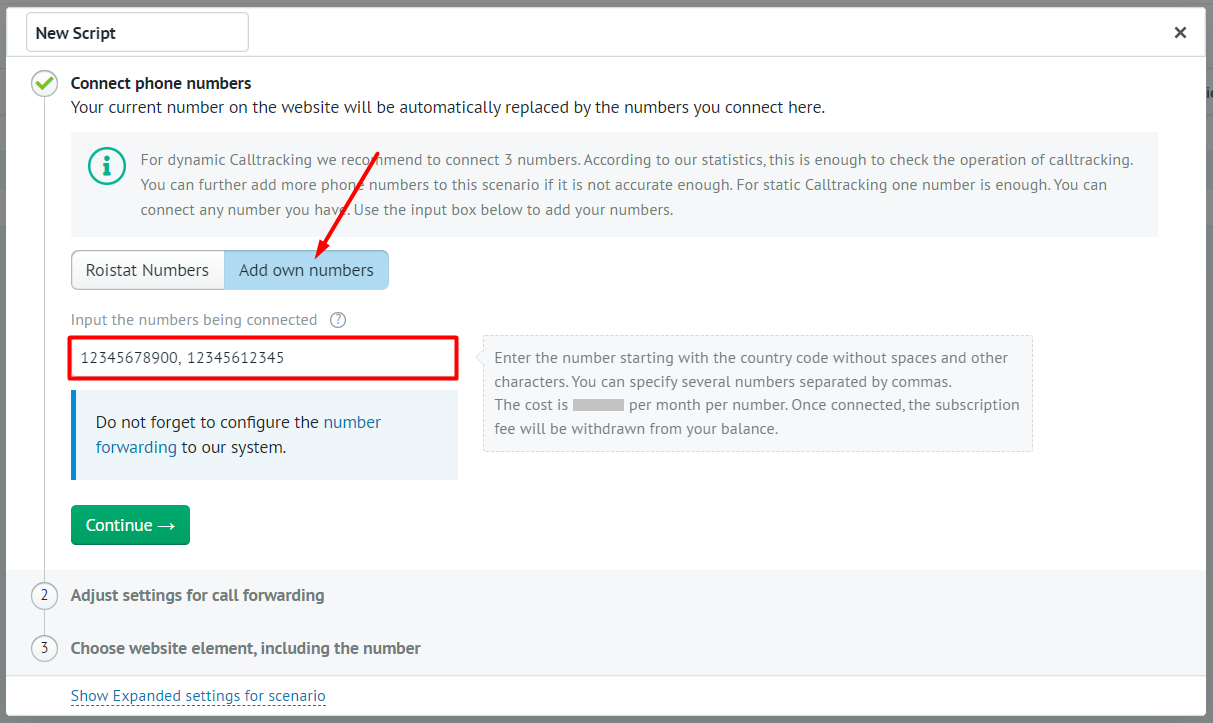
After adding the replacement numbers, click Continue.
-
If you add numbers to a new script, the number replacement will start only after enabling the script.
-
If you add numbers to an active script, the number replacement will start immediately after clicking the Save button.
-
The cost of using each number will be debited from your balance as soon as you save the script (whether or not you enable it).
-
The added numbers will also be displayed on the Calltracking → Phone numbers page.
-
-
In the Adjust settings for call forwarding section, specify the phone number or SIP account where you want to forward calls:
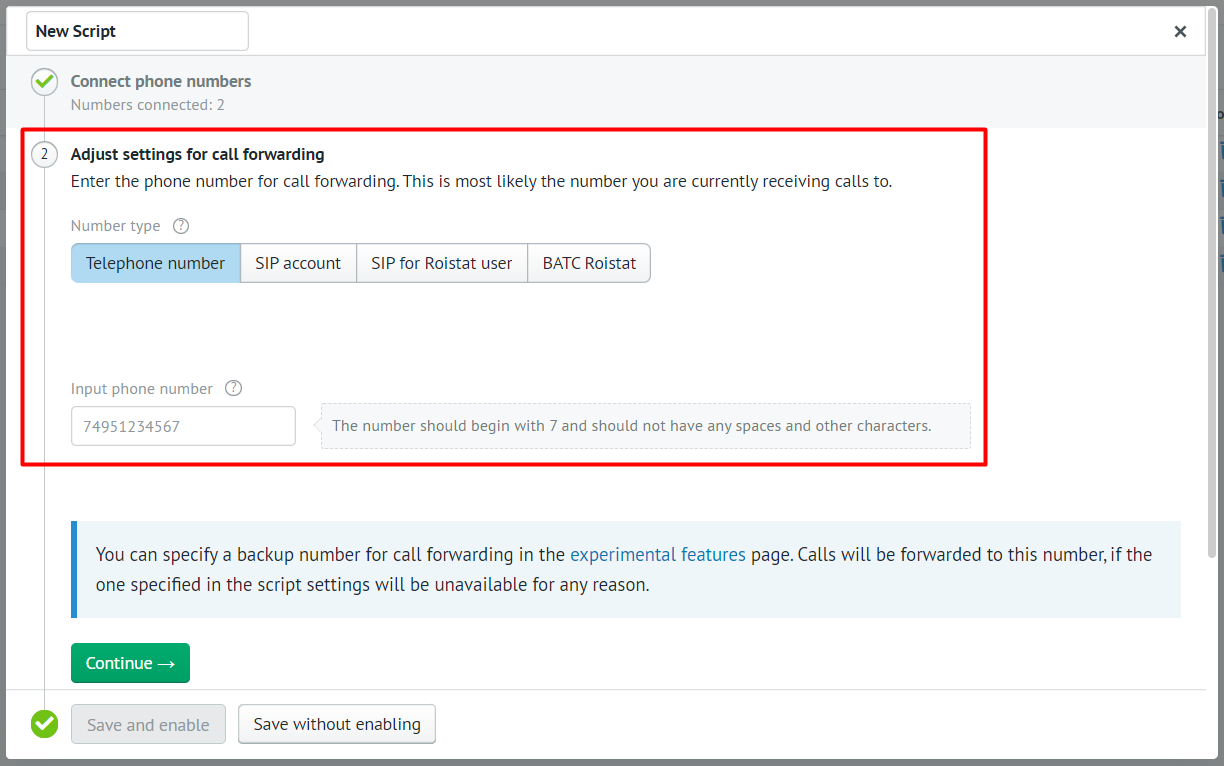
When you are ready, click Continue.
-
Specify the website element containing the number you want to replace. You can simply enter the number or specify the element's CSS selector.
Enter the number
In the Phone number field, enter the number that you want to replace on the website. The numbers on the website and in the script must match, but the number specified in the script settings must not contain any symbols or spaces. For example, if the number on the website is
+1(234) 567 89 00, enter12345678900in the Phone number field.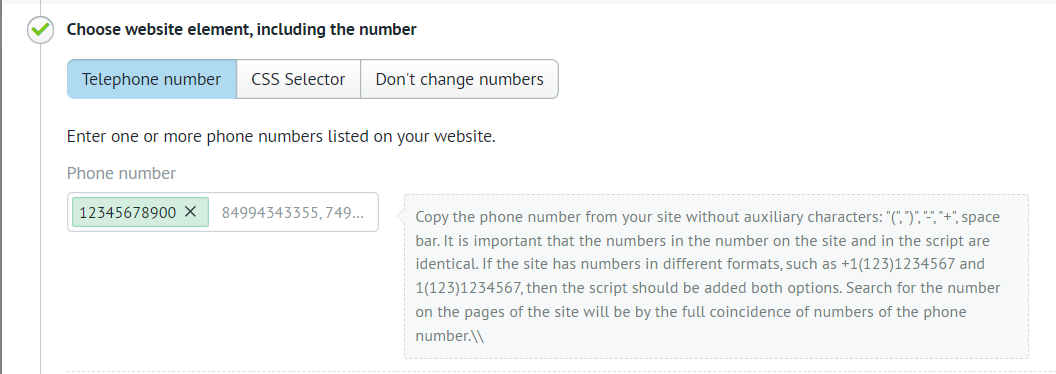
Specify the CSS selector
Enter the CSS class name (in the
.exampleformat) or ID (in the#exampleformat) of the element containing the phone number. You can add multiple values separated by commas.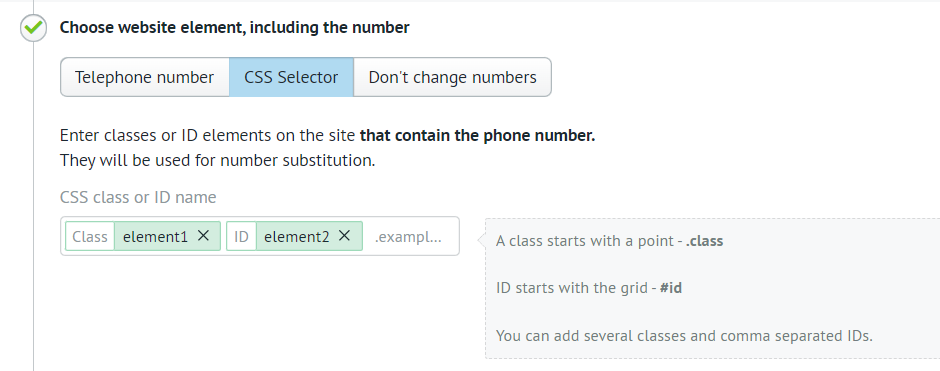
More about marking replacement numbers on the website
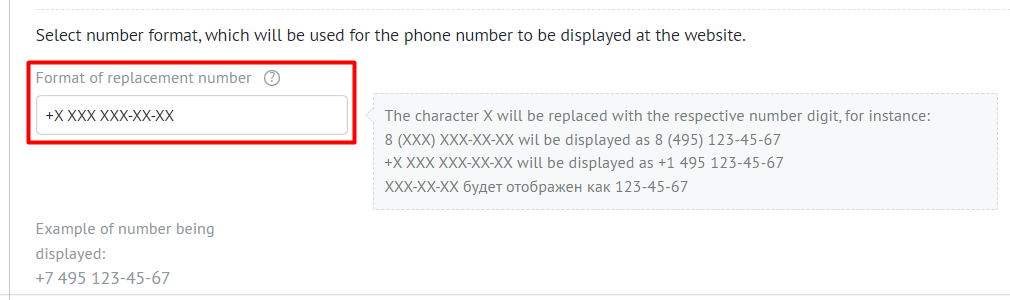
After that, select the format for displaying the replacement number on the website. You can also configure the number format [using the code] (/features/calltracking/marking/#code).
-
You can enable call tracking right after the basic setup by clicking Save and enable. You can also expand advanced settings:
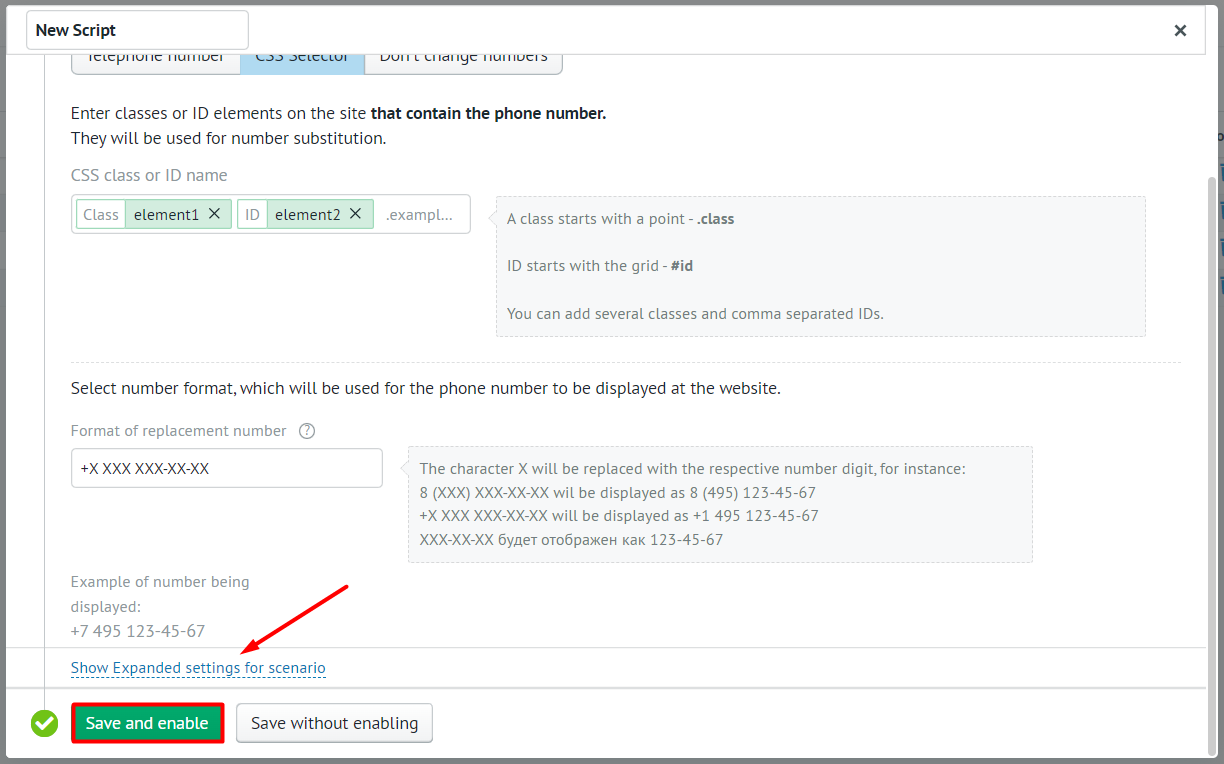
Advanced Settings
In advanced settings, you can:
- Select static call tracking type;
- Set up sending additional information to CRM;
- Set up sending information about calls using Webhook;
- Set up sending goals to Google Analytics;
- Specify countries, regions, cities, and landing pages that must trigger the script, or, conversely, must not participate in call tracking.